Starting up a heat treatment for best results
by Tommy Underhill
July 30, 2018
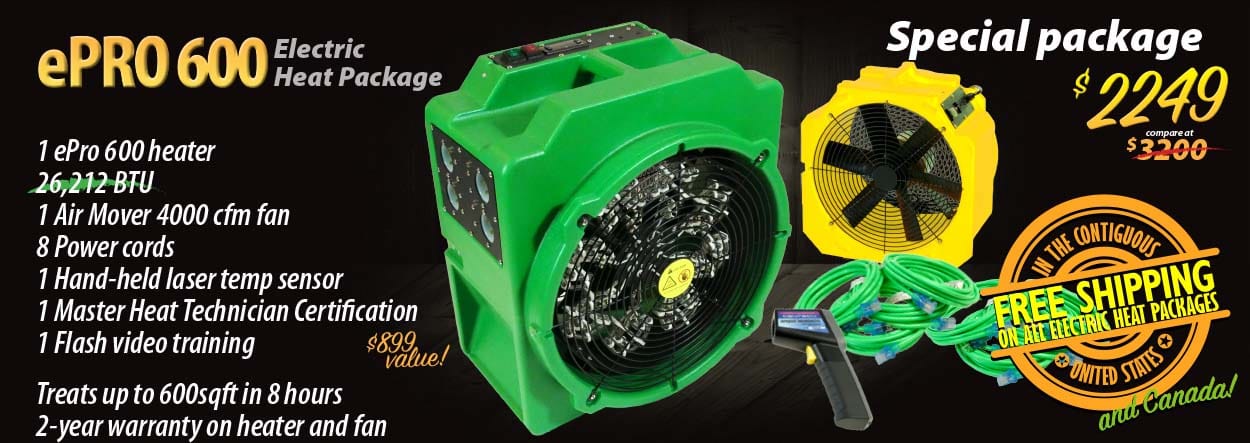
This blog continues our series of technical highlights that are covered in greater depth and detail in  our Master Heat Technician Certification training program. We believe training is the differentiating factor between success and failure. That is why we include the Master Heat Technician Certification training program as standard equipment in all bed bug heat treatment packages $1,999 and up, and every package we sell includes our flash video training.
Pre-treatment preparation for a successful treatment
In addition to creating the most-powerful portable direct fired bed bug heater available, our comprehensive training is what sets GreenTech Heat apart from the rest of the industry.
The following quick order of operation can help minimize collateral damage to a client’s home and belongings.
![]() Walk the treatment area (both treatment and non-treatment areas) with two pads of sticky notes and a sharpie.
Walk the treatment area (both treatment and non-treatment areas) with two pads of sticky notes and a sharpie.- Red-tag any heat sensitive items in the treatment area.
- Have the client remove any items that cannot withstand heat.
- Blue-tag any areas that will need focused heat: obvious infestations, client-identified problems and any items with a high specific heat.
- Draw an arrow on a sticky note and place it on the floor showing the initial placement and direction for an electric heater.
- Discuss electrical needs and strategy with the client. As you walk and talk, draw a big “X” on a red sticky note and place it over any socket the team cannot use for power.
- Stage heaters and fans in the treatment area.
- Fire up the heaters as quickly as possible, avoiding any heat sensitive items, and start heating the treatment area.
- Position fans to direct airflow.
- Adjust as needed.

Manage the heat treatment area to avoid damage
 Regardless of the job scope, you will find hot spots and stagnant areas. Don’t become complacent because you’re only treating with electric heaters. Use our experience to keep your treatment area safe. Adding additional fans can decrease treatment times and increase the efficacy of a treatment, as well as allow you to focus energized treatment air to specific areas and locations needing additional heat.
Where needed, create “thermal padding” with reflective insulation or a thickly-padded moving blanket to protect heat sensitive items. Keep in mind that any item that gets placed in a truck anywhere between the factory and the customer has potentially been exposed to temperatures in excess of 180°F. Thermal padding allows heat-sensitive items to gradually increase in temperature and avoid thermal shock or melting when directly exposed to high-energy airflows.
Just as a person can experience heat stress or be burnt by treatment temperatures, household items and furnishings react to heat as well. Most often, heat stress happens when an object is heated too quickly. Examples of heat stress damage includes melting, cracking, shrinking, breakage, drying, and chemical alterations. Electronic devices, including flat-screen TVs, computers, and stereo systems have different heat tolerances when operating and completely powered off, and are generally resistant to heat when powered off and unplugged from the wall. Make sure laptops are in the “shut down” mode, and not just sleeping. We’ve seen many computers infested with bed bugs— heat treat electronics to prevent a reinfestation.
 It’s best to separate items with extremely different heat conductivity thresholds. For example, remove a metal candlestick off from a finished wooden table before treatment— the metal will heat faster than the table and could produce a blemish in the table’s finish.
When a treatment combines equal parts of training, preparation, and temperature measurement, the potential to damage the contents of the room is minimized. Our customers have conducted hundreds of thousands of successful heat treatments.

 Walk the treatment area (both treatment and non-treatment areas) with two pads of sticky notes and a sharpie.

